I picked up a little flat-pack robot arduino kit while I was in Tokyo. I couldn't find any instructions on how to put it together in English, but VStone does have a wiki with instructions that Google Translate got right enough to follow along. It appears to be called a "PiccoRobo", and it was actually a piece of cake to assemble, even though I've never built anything with an arduino before. It can walk backwards, forwards, make left and right turns and shake its head.
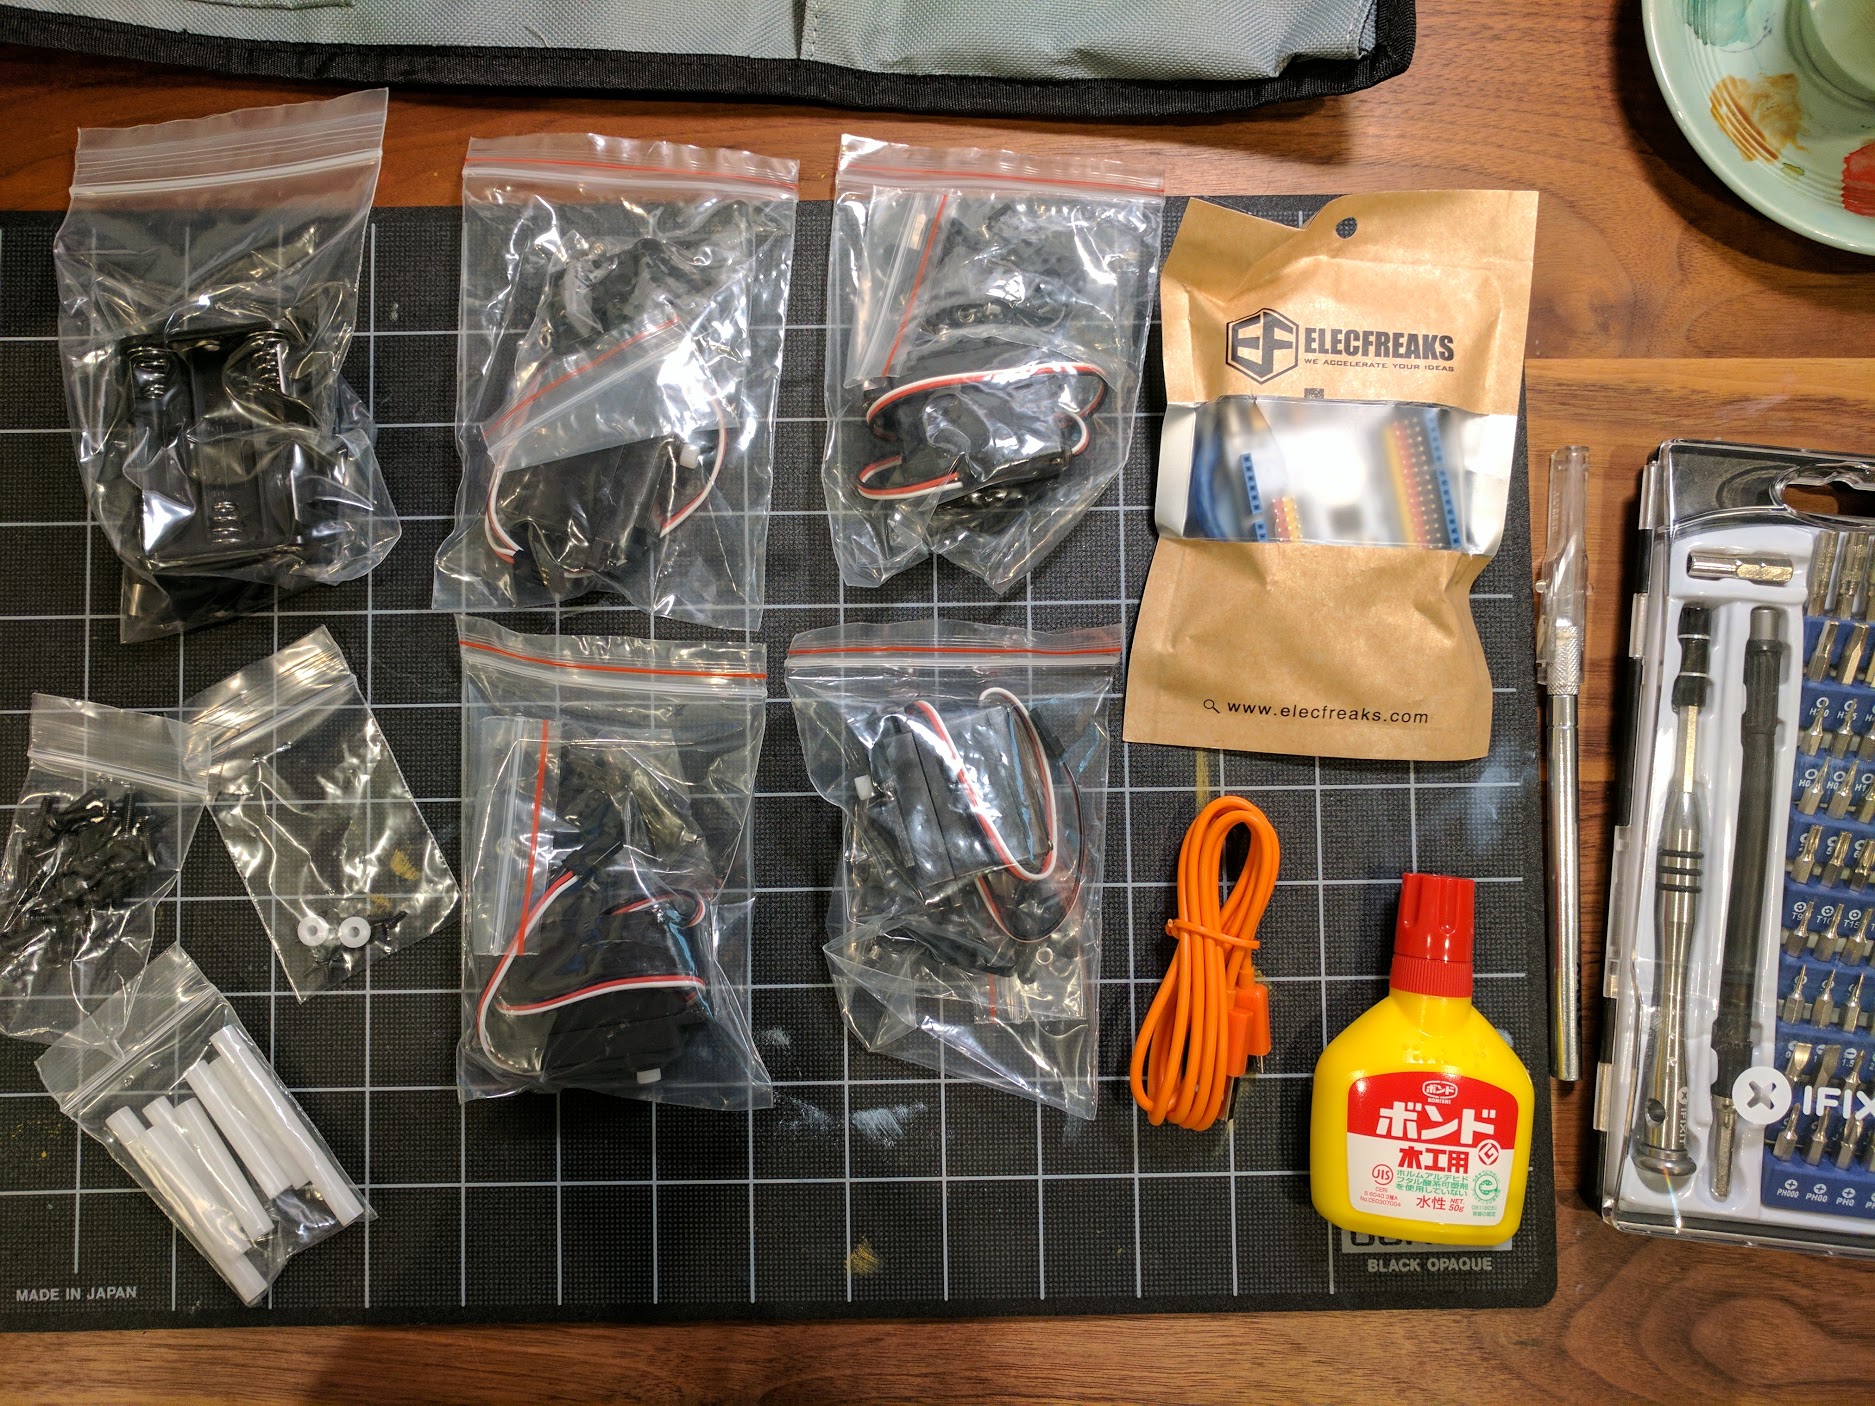
Robot parts
The Japanese instructions can be found on the wiki over here. I skipped the first part and didn't bother testing the board and parts before assembling the robot. A couple pro tips if you find yourself assembling a similar set.
- When you get to the calibration step, if, like me, you find one or two of the servos are totally at the wrong angle - rather than correcting it in the software, I actually unscrewed the part that was wrong (in my case, his left leg was a good 45° off) and reassembled it closer to 0° so there's only minor software corrections to make.
- Mark the ends of the cables of the servos as you go (with tape or a sharpie), so you'll remember which is which when you come to plug them into the board - I had to pull and hope I could see where the cable went - I still ended up swapping his left and right legs by mistake.
- The battery box shifts slightly from side to side as it walks, as it's not a snug fit between the two pieces of MDF inside, and can cause it to tip over. I recommend rectifying this by either using a bit of sticky tack or velcro tape to secure it in place - either way, you'll want to still be able to remove it to change the batteries down the line. I may even end up moving the battery pack to the robot's back as a counter weight when its head inevitably gets too heavy with electronics (fashioned into a jetpack, perhaps).
It's all up and running now. I'm going to pick up a wifi module and a couple inputs and outputs and see if I can't hook him up to the house next.